Hello my dear friends, did you miss me? Well life has just gotten so busy and time went right out the window, I’m sorry about that and feel guilty for neglecting my blog. But here I am to add something new and hopefully start sharing more too.
Have you heard of Inktober? It’s an artist’s self initiative to produce work for the month of October and all has to be ink. I’ve always wanted to do the self challenge because I love drawing with ink, but shied away because of the pressure to produce and being busy. Well I’ve decided (as we all should) to do it in my way, I’ll do some as I can and that’s good for me! haha.
So recently we had a surprise visitor, a tiny frog that came hopping out of my studio, all the way at the back of the house! Now I know this post is about toads but we’ll get to that shortly! We’re not sure if he came in when Gary had the door open to feed the hedgehogs or what but he needed to go outside. This summer I made up a little pond using a ‘tubtrug’ shallow plastic tub, filled with water, rocks and sticks and a tiny solar pump that squirts a bit of water to make some movement.
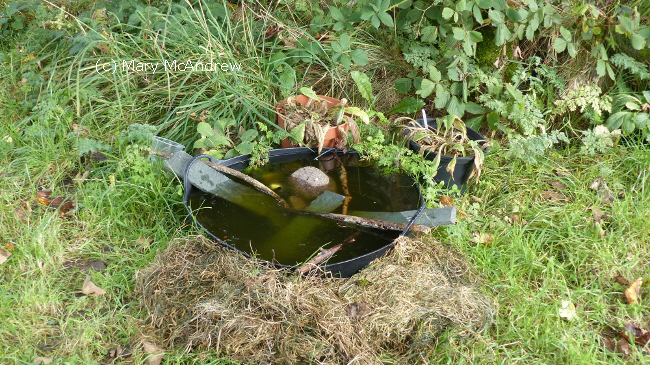
This is the little pond I made from a shallow plastic tub.
I’ll tell you what the birds have been loving it, the pheasants drink right at the sides and little birds land on the various pieces of old slate or the sticks to drink. I was excited to watch both the Robin and Blackbird take really good baths in it, splashing all around, it was great! The little water pump just makes a little ‘blurp’ or water repeatedly or when the sun is really bright it flows like a little drinking fountain; it’s supposed to be just enough to get the birds attention and keep the water circulating a bit.
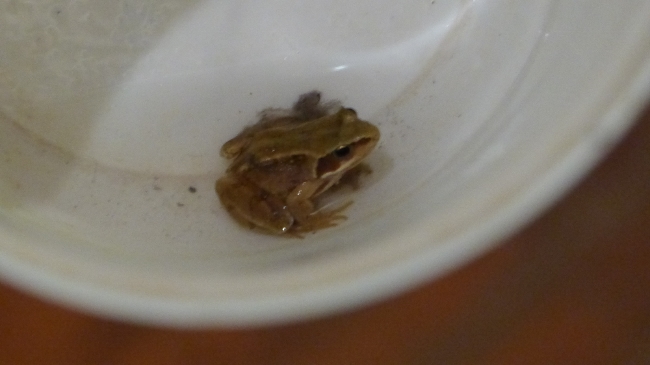
Such a tiny frog, what was he doing in my studio?
So back to the frog, we took him outside (it was night-time) and put him in the pond and watched until I was sure he could also get out. You see even a frog can drown if it can’t get out of a tub type thing so be careful when you put water in containers outside. He did just as I expected and kept swimming around and around to the sides, which were too high for him. The way the rocks were situated he could easily have climbed on them and got out, but he had a one track mind to go around the edges. So I arranged some sticks and weeds at the edge so he had lots to grab onto at the rim, and he duly obliged by climbing up then out. Great, now I know if one goes in it can also get out.
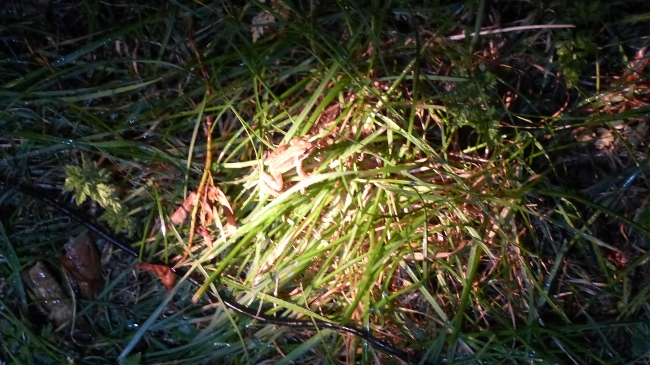
Baby frog hopping away in the wet grass.
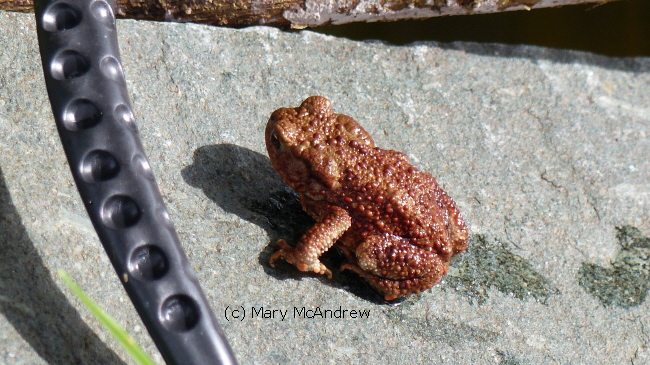
So on the way back into the house I stopped Gary just before he stepped on a little toad in the dark! This is a real wildlife night! So we took him to the pond, just so he would know about it, I took lots of photos then he got down in the long grass between some pots and it was goodbye! That’s him below, we shone two torches (flashlights) on him for the picture, it worked great.

Then another day I was in my back garden planting strawberry runner babies and I looked down and there is a decorative ceramic pot full of rainwater was a little toad, swimming and desperately trying to get out! Poor thing, I scooped him right out and took him to the pond area too, took some pictures and he warmed himself in the sun awhile before leaving.
Little toad had a nice dip then soaked in some sun before leaving.
So now you’ve patiently waited to hear how Inktober fits in here and to see some artwork! I’ll show you the two drawings I did and some of the stages as I worked, I took a few pictures with my cell phone. (By the way, I share a lot of pictures like this on my Instagram account “Mary McAndrew Artist” and on my Facebook page “Mary McAndrew Painting and Illustration”, you can easily follow me on those and see lots of photos as I draw, paint or see things outside in the garden or from walks.)
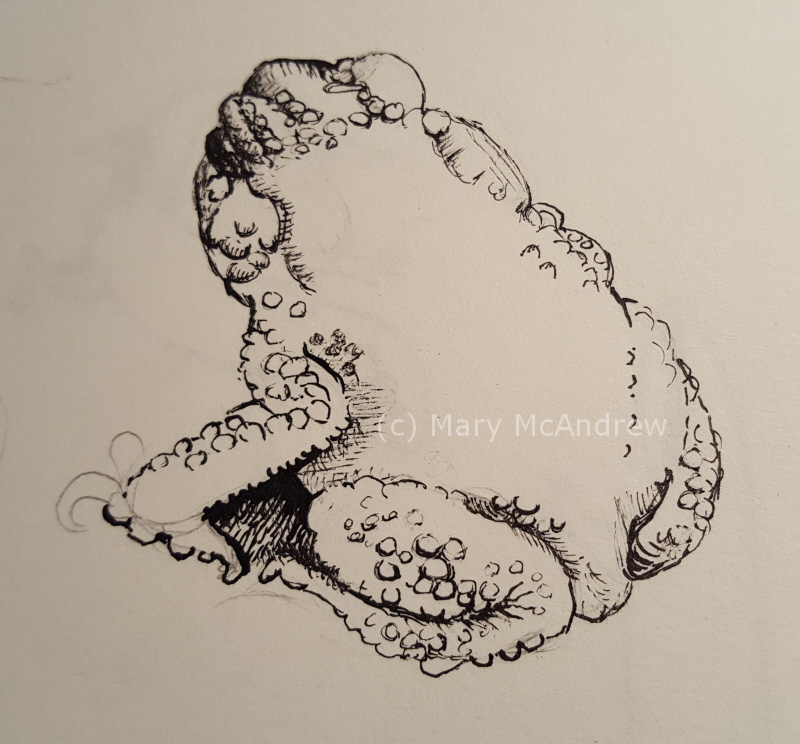
Toad #1 showing my pencil drawing and the start of the inking.
I want practice using my dip nibs and ink so that’s what I used here. The ink was a bit old so I struggled a bit until I added enough water to thin it again; I used Rapidograph waterproof ink.
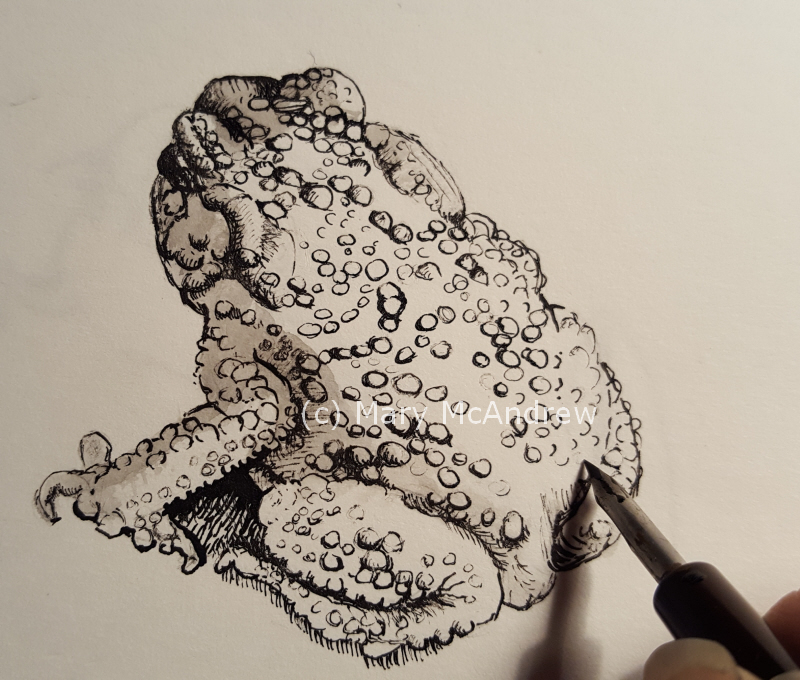
Here I’ve gotten more of his bumps on.
You can see on this second picture I’ve put a bit of a light wash of ink, using a brush and water, down his arm, face and side.
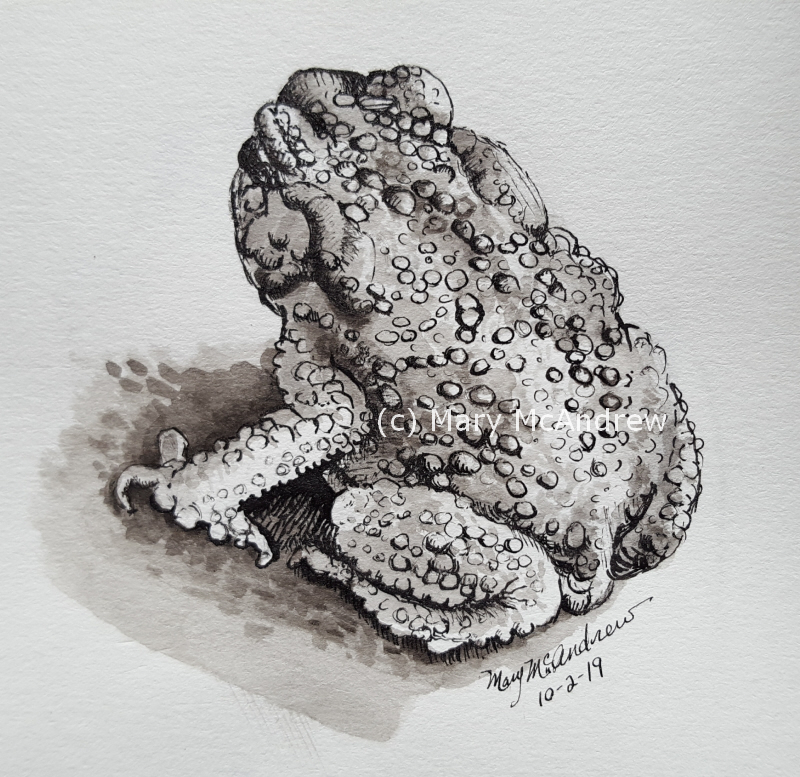
Toad #1 finished
You can see I added more washes to the toad, finished his ‘bumps’ (I hate calling them warts, it’s not nice for the toads image!) and put some tone under him to set him off. I also used a white gel pen to put tiny dots on the bumps where needed.
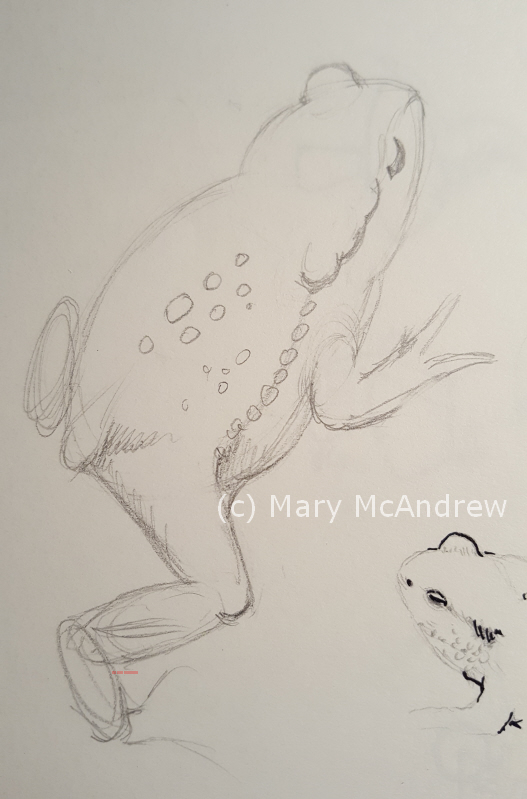
Toad #2 at the drawing stage.
You can see in my drawing above of Toad #2 how I used simple ovals to place his feet and leg parts. I sketched simple ovals and circles to get him basically laid out and then could correct the proportions of him before adding details.
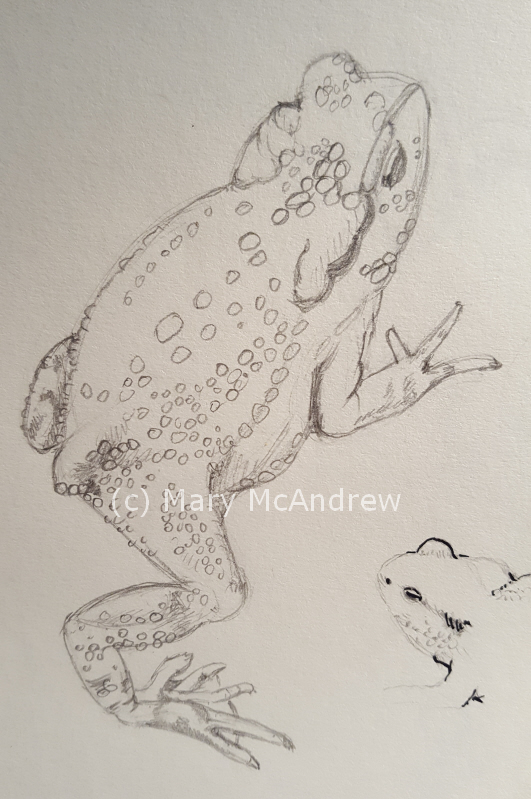
The drawing stage basically done.
Above you can see the drawing stage is done, toes are all on but not every bump.
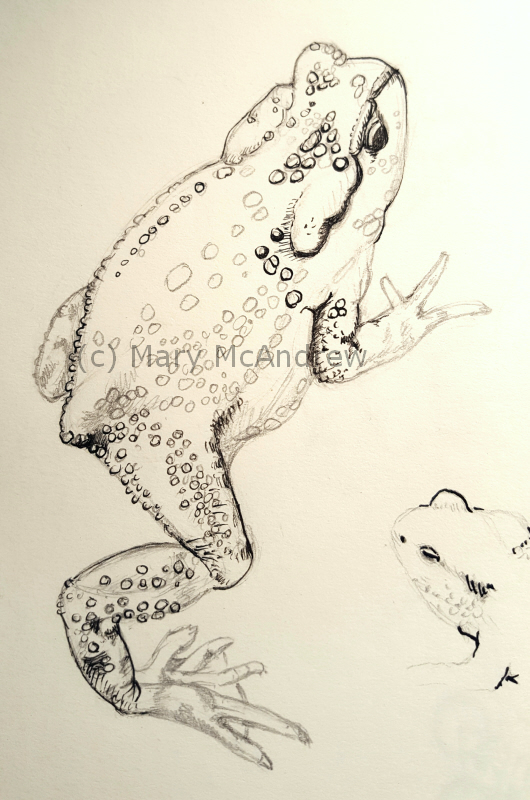
I started adding the ink with a dip nib.
I’ve started adding the ink now with a dip nib, but this time I am using Higgins “Black Magic” ink. It said it’s waterproof but later I find this wasn’t totally true!

Then there’s always a chance of ink spots!
Ah yes, things were going ok but I was struggling with old ink with clumps, adding water and trying to wipe off my nib when needed. Somehow in all this I did manage to drip ink on the drawing, argh! I wasn’t too upset because this is just a study and I’m trying to be a bit loose with it.
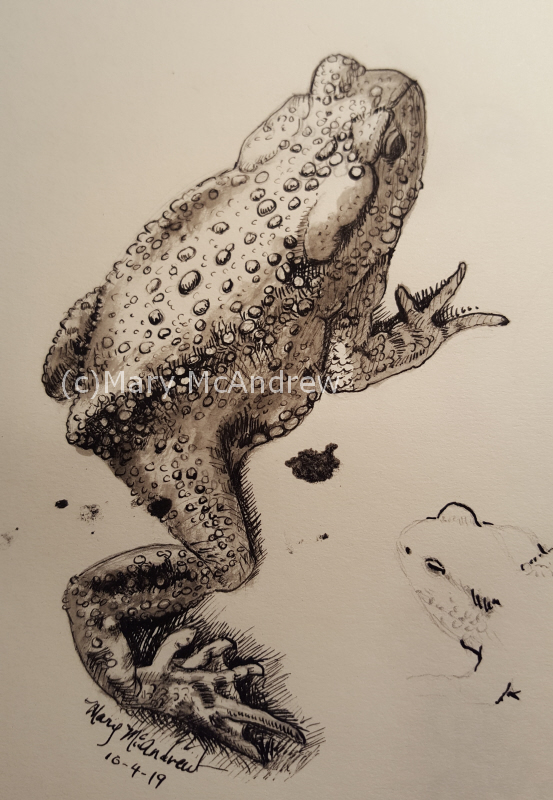
I did some ink washes on the body to show form.
I found the ink was not so waterproof when I tried to do washes with a small brush, I had to pick up disturbed ink with a paper towel. So I was able to carefully go over areas with just a damp brush to get the ink to lift and make a wash. You can see I also start to add some black around his back foot, leg and front foot. I really like digging in with darks around subjects to set them off, you’ll see it works to my advantage next.
More ink around him done with the brush, ink and water for diluting. See how that big ink spot is getting covered?
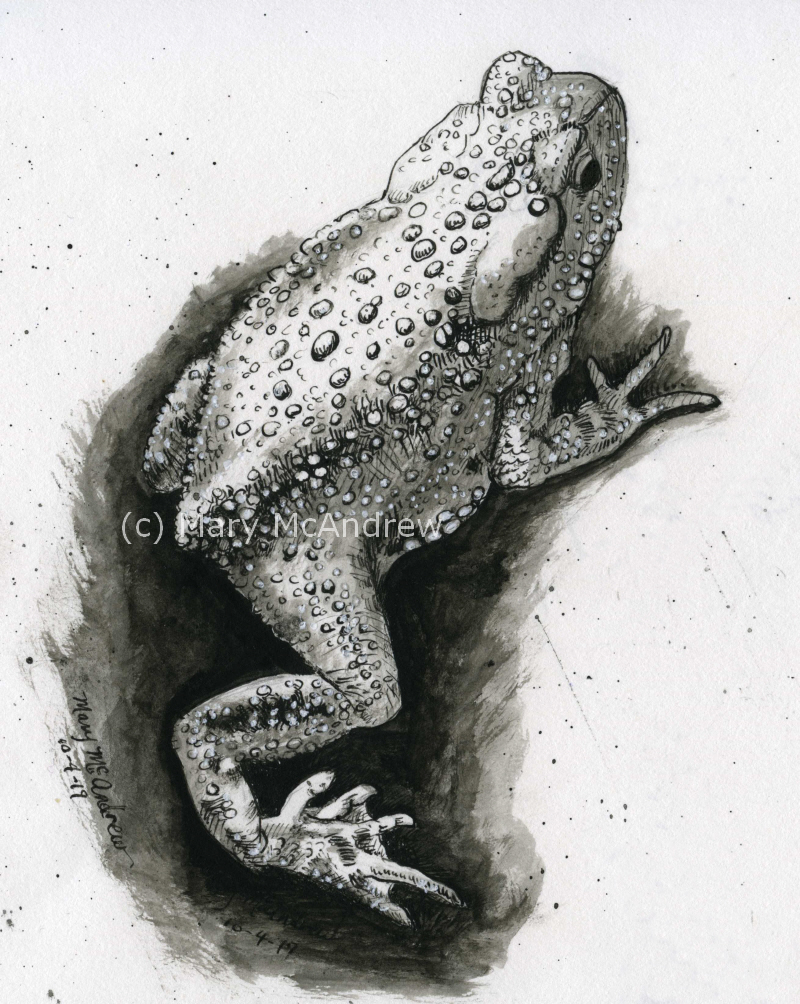
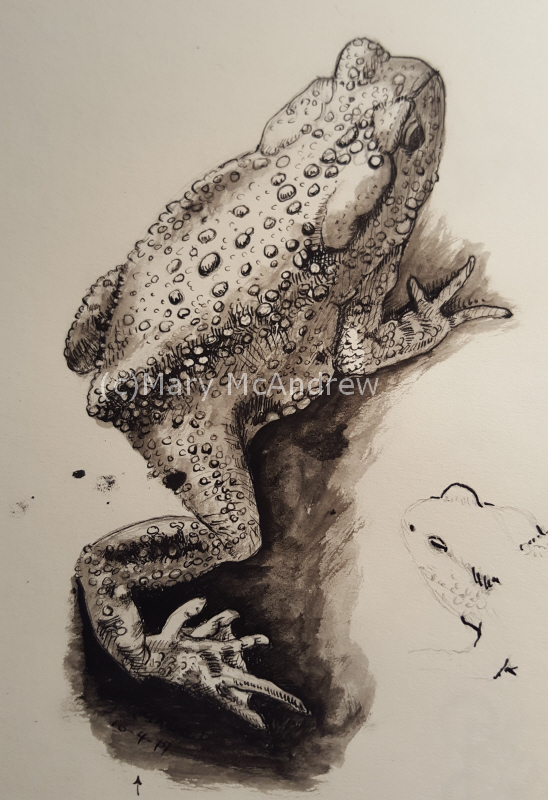
Toad #2 finished!
Here he is finished, I layered the ink in and got nice and dark around his body; I like the way it makes him look like he’s coming out of the ground. I edited out the other sketch of a toads head on the paper, just for the final scan. The spot that was on his leg I was able to lift pretty much with water and paper towel. I added white gel pen to his bumps where it was shiny on the photo and finished adding his tiny bumps. Did you know each toad has different bumps? When I compare the two toads they looked so alike, but when you look close you can tell which was which by where their bumps were.
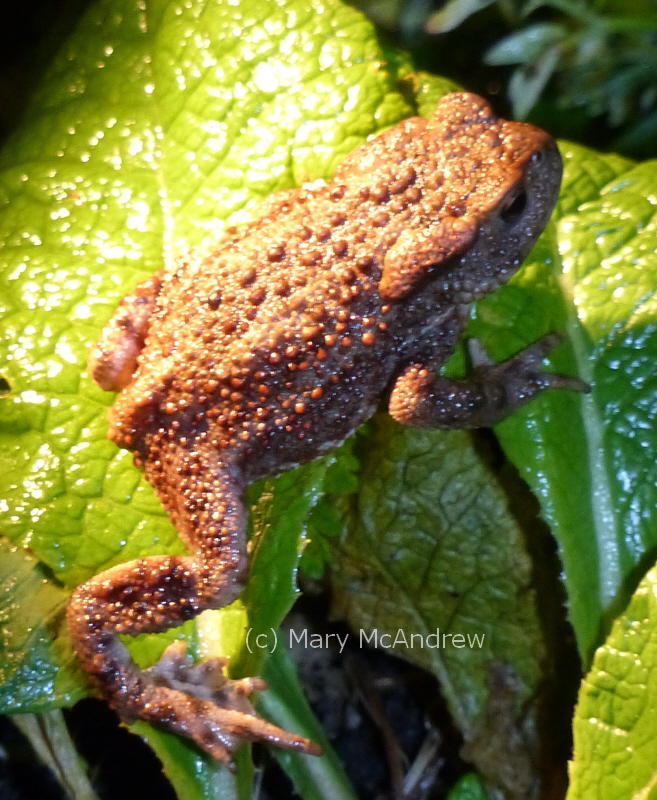
The color photo of this very gorgeous toad!
Above is the photo I worked from, I had to flip the photo to draw him facing a to the right. The photo and drawing also look a bit different because my drawing of him is turned a bit so he’s pointing up more, I liked it better that way. I wanted to share with you his gorgeous colors too and show you how lots of his bumps were a deep sandstone red, like jewels on the ground. It’s all about texture with a toad, that must be why I like drawing them!
I hope you enjoyed this post, as I said it’s been an awfully long time I’ve been away from it and will en-devour to share more soon! Please find me on Instagram at “Mary McAndrew Artist” and Facebook business page is “Mary McAndrew Painting and Illustration”. Please leave me some comments below about toads in your area, are they getting ready to hibernate?


