( Return to My Art Supplies, Equipment + Books )
Watercolor palettes:
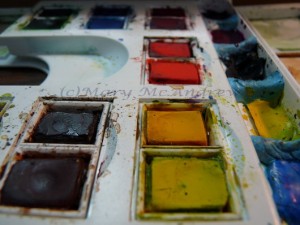
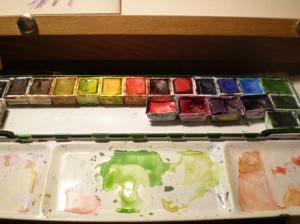
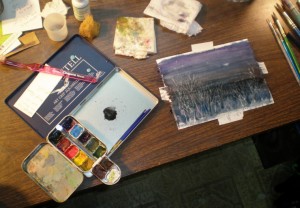
This is a close up view of my Windsor Newton watercolor travel palette.
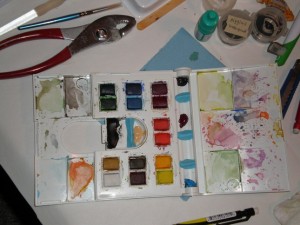
This is the palette shown opened up, the cover lid is on the right, and on the left is a mixing tray that pulls out from underneath when you open it. There’s a hole in this part for your thumb to go through so you can hold it like a proper palette. I used Sticky Tack or Blue Tack to make little walls to separate colors I added to the area where the little brush is supposed to be.
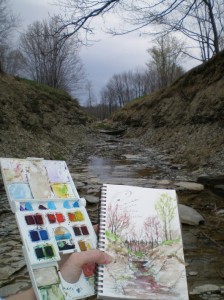
Here’s a picture of me holding the palette and sketchbook at the same time while standing on rocks in the middle of a creek bed! Now you see why I prefer a smaller sketchbook, easier to hold. Read about it here on my blog and see pictures of our day at Lake Erie, NY.
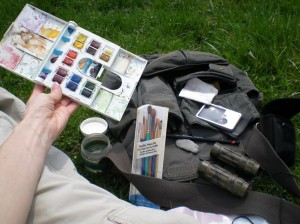
I use this palette all the time now, for outdoor and indoor painting. I pulled out the pans that used to be in it and replaced them with Windsor Newton half pans, some I filled with my own tube paints.
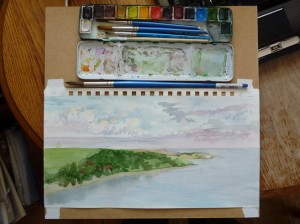
Here’s the same pan again, I used it in the field to paint “View of Howick Haven” while on the coast of Northumberland England, then completed the painting that evening using my laptop to see the picture. Read about it here.
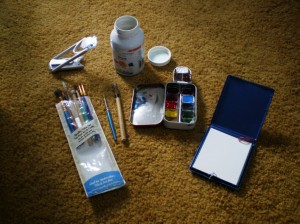
Here’s a picture of my ‘Altoids Kit’ in action, a fun little set I created to use with it.
Here’s the Altoids kit being used inside a metal pencil case, you can mix your colors on the metal lid. Some people ask me what is the little clipped on part with the three half pans of paint in it? That’s taken from my WN palette above, it’s a little cup they give you that I suppose is for water, but so tiny it’s not useful for that. So I clip it on here and add a few more colors to my tiny kit; it fits right inside when I pack up.
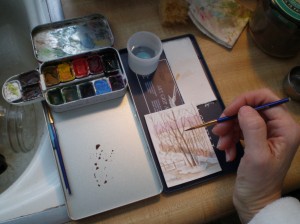
Here it is again being used to paint my “Shooting Star” watercolor. Read about how I painted it here on my blog and go here to see it in the Gallery.
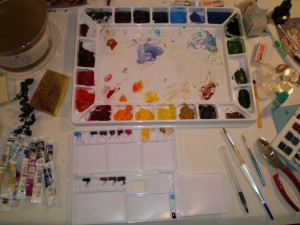
The big palette is what I call my Studio Palette, never taken outside because of it’s size. It’s great for mixing up big amounts of color for washes and there is a great range of colors. The palette below it I don’t like much, I thought it might work well for travel but the colors pop off the shiny plastic too easily. I could sand it a bit and mess around with it, but just don’t have time to.
Watercolor Brushes:
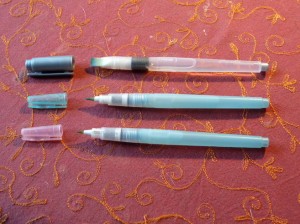
Water-brushes have really gained in popularity through field artists who like being able to whip out a brush and not worry about the mess of a jug of water. If you practice with the water brush enough you’ll find how to use it to the best of ‘it’s’ ability. To fill the brush just take the tip off by unscrewing, gently squeeze the barrel and hold under a running tap or submerged in a cup of water, let go and it’ll suck up the water, keep repeating till it’s full.
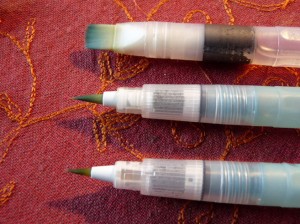
Here’s a closeup of the three in my field kit right now. Two are finer tipped round points and the top one I just added to my bag as a not as often used brush, it’s a broad filbert head. I used only this big brush to do the sketch of “Clennel” found here on my blog. It’s important to keep a paper towel ready when you use these, instead of changing brushes or rinsing in a bowl of water between colors, you’ll be wiping your brush on the towel and squeezing water out a bit to clean it. While I’m painting I touch the tip to my finger all the time to test how wet it is, sometimes it’s hard to tell.
Click here to read entries on my blog that have anything to do with watercolor painting and how I did them: http://marymcandrew.com/tag/watercolor/
