Support This Site

If you like what I do please support me on Ko-fi

Visit with a Friend (black and white studies)

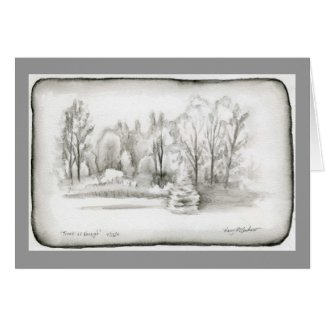
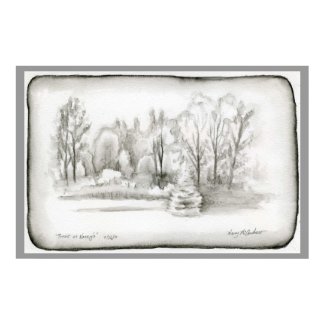
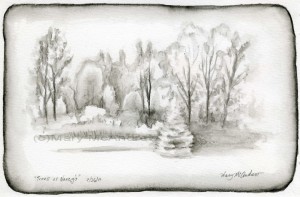
Trees at Nancy's - Inktense 'Ink Black' watercolor pencil

(Please click on the pictures to see them clearer, use the back button to return)

I had a chance to visit with my friend Nancy the other day and we sat on her back deck to do some sketching. We had a nice view; just behind her place is a small pond with trees on the other side. I was showing her how to do something simple by just using one watercolor pencil, the Inktense “Ink Black” by Derwent Pencils. I keep one in my kit always because sometimes it’s nice to just do a sketch with a waterbrush using this one pencil. The nice thing is you can go back over your black and white study with color after, the Inktense pencils will not lift off like watercolor can.  It IS a VERY intense pencil, go very lightly at first and see what it does when you wet it. I started with the simple border as kind of a warm up, just draw a line around your page then use your waterbrush to wet it. To get it to look like mine, keep your brush ‘inside’ the line with the tip always touching and rubbing the line, letting the color run into the wetness left behind from the brush.

Sketch your scene lightly, trying to do most of it before you wet it. Once you wet the paper you’ll have a hard time adding more lines because they will be very dark and intense! If you need to just touch your waterbrush to the tip of the pencil to pick up more ink, then use your brush to add it to the sketch. Test how dark it is on a piece of scrap paper before you touch your sketch, this will help you avoid mistakes. I really like the look of this, sort of like an old antique picture.

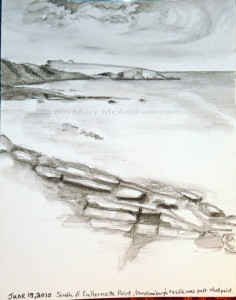
Sketch of Cullernose Point from the south

Here’s a sketch I did in England last year, along the coast of Northumberland, of Cullernose Point as viewed from the south. I had my sketch journal with me (OF COURSE!!) and because we wanted to keep walking, just sitting a bit and doing a sketch with no color worked well.  I used my waterbrush and especially like how the clouds came out.

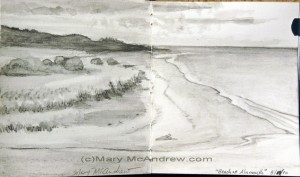
Alnmouth, Northumberland -water soluble graphite

Alnmouth, Northumberland -water soluble graphite

Now I thought I’d add this one too just to show how nice it can be to do non color studies. This was done with water soluble graphite, not the colored type, just plain old graphite color! We were at Alnmouth, Northumberland England; a beautiful coastal spot! I did it in my tiny sketch journal which was so much fun to use! It was a wonderful experience to stand on the hill at the coast and capture the scene forever in my memory. Please read my post about it here to see the wonderful photos I took that day! I loved being there and can’t wait to go back for more! I love, love, love England!

I hope you enjoyed my little ‘non color’ sketches, as I said they’re a great way to capture a scene without the worry and time of adding color. And thanks to my friend Nancy for a nice visit! (ps. I photographed lots of dragonflies at her place and two of them were new for me!) I created a really nice print and greeting cards in my shop, see the links below! I love the dark grey background with it.

Make your own card at Zazzle

When you see this print in my shop (below) don’t be scared by the price! It shows you the huggest size but can be ordered as a 16×11 for only $11.20 too!
Watercolor Pencil Lesson – Color Practice

I go through phases with what materials I use when I go out sketching and my love of watercolors sometimes gets pushed aside for watercolor pencils. It normally doesn’t last too long and I’m reaching for my familiar pan of watercolor paints, but for now I am in a watercolor pencil mood. So I thought I’d share with you a good lesson for people starting out with watercolor pencils or those wanting to practice.

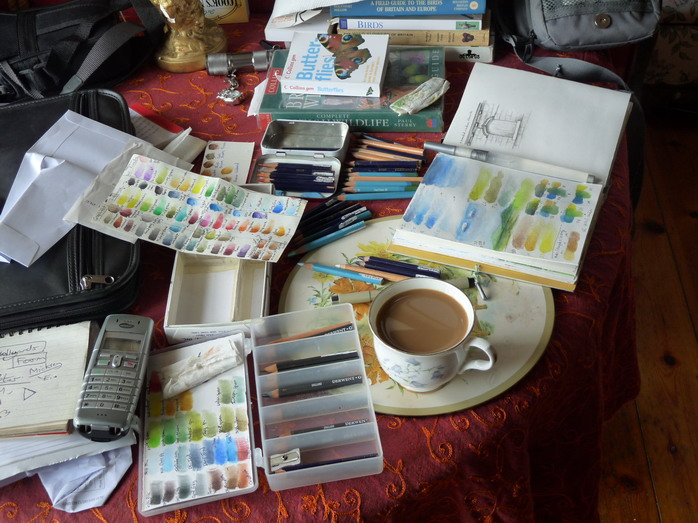
Set up for watercolor pencil color play

Set up for watercolor pencil color play

I have quite a few colors but when I go into the field I try to carry as little as possible to keep the weight down. Above you can see many pencils and containers with lots of color charts, my sketchbook, waterbrush, bit of paper towel and of course the cup of coffee!  You may notice my pencils are short, I cut them in half so I have less weight and bulk in the field, keeping the other set at home or in other field kits.

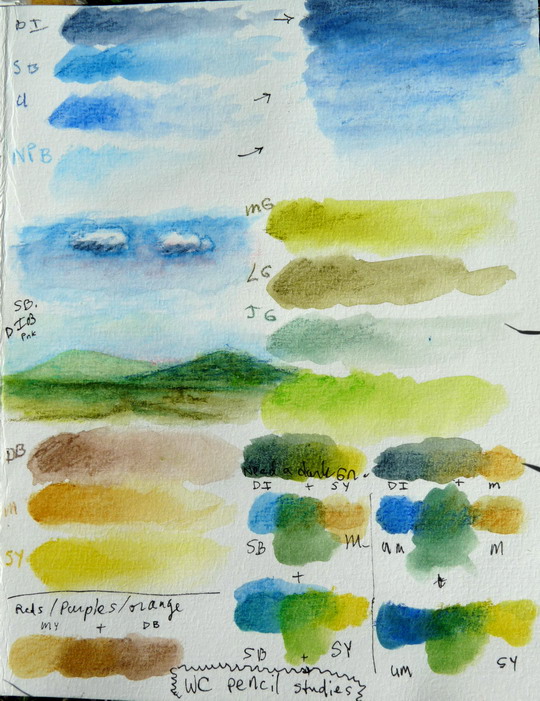
Watercolor Pencil Practice - page 1

Watercolor Pencil Practice - page 1

I was specifically trying to pick out colors I could use for landscapes while in England, so you’ll notice I made little ‘mountains’ with the colors to test the mixing when overlapped.  To do a color ‘spot’ with medium pressure just scribble a small area and label it with initials of the color.  Take your wet brush or waterbrush and rub into the color then keep rubbing lightly as you move the brush away; it will get lighter and you’ll create a nice color swatch. I group mine together, blues, yellows, greens etc. Between colors, either rinse your brush then wipe on paper towel, or if you’re using a waterbrush, just stroke it on the paper towel until it appears clean.

From the blue swatches at the top left, I then selected a few and lightly colored them next to it and then wet it to see if it’d look good as ‘sky’ colors. Then at the bottom right I was pleased with the test of mixing basic blues with my yellows to make various greens. If I like I could leave the green pencils behind but it does mean more layering and mixing and while in the field I try to make it so I can sketch fast.

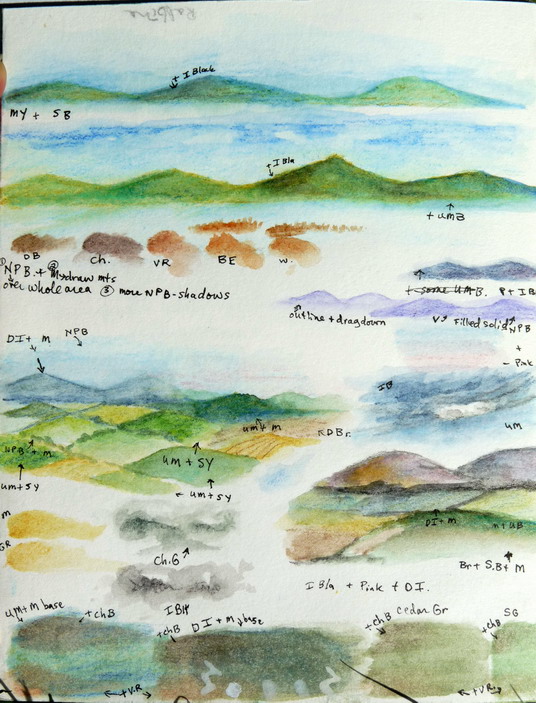
Watercolor Pencil Practice - page 2

Watercolor Pencil Practice - page 2

This picture looks paler than I’d like, I don’t have use of a scanner here so these are photographed with my camera! But anyways, at the top I was experimenting with first laying down a light blue wash then putting the green mountains on top. Then I tried purpley colors because distant mountains sometimes have that hue. Then I made up some fields and tried layers of various yellows, blues and greens. At the bottom I experimented with toning down the vibrant colors by adding charcoal grey and various reddish colors (red is opposite of green so it can tone it down)

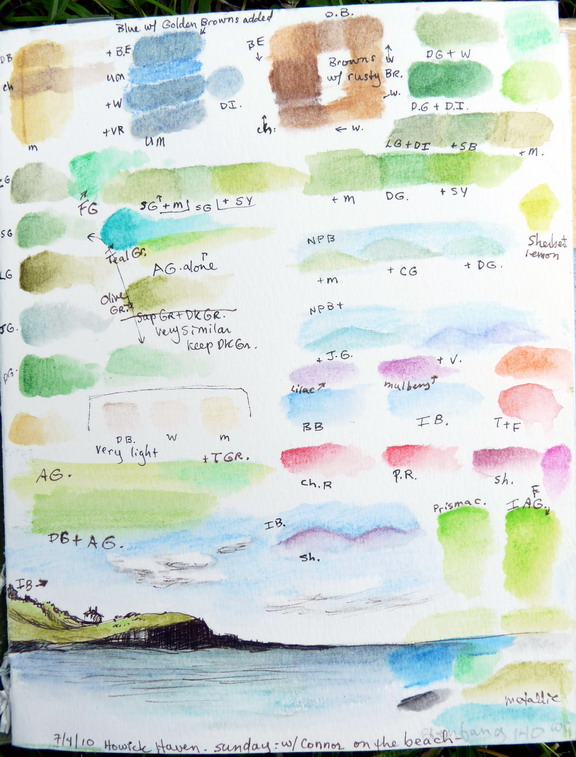
Watercolor Pencil Practice - page 3

Watercolor Pencil Practice - page 3

This page is also a bit light but you can see my colors still. I was determined to eliminate any excess green pencils if I could, so I tested them next to each other. At the top you can see I tested some browns, overlapping them in a square pattern. At the bottom is a quicky sketch in ink done at the beach, later I played with the colors to test them on it.

Well I know it’s not a thrilling post but it shows you how to get familiar with your watercolor pencils if your a beginner or very experienced and just needing to pick out some colors. Once you pick the colors you’ll use in your ‘kit’, make a small color chart of them, labeled so you can refer to it quickly until the pencil choices come easily.

A note about one of the reasons I like watercolor pencils; if you lay more than one color down dry, then wet it to blend and bring out the vibrant color, I like the grainy textures left and how you can see bits of both colors (depending on how much you rub it to blend). You can draw lines and leave them somewhat or you can shade lightly for more of a watercolor look.

So, grab your watercolor pencils and have some fun playing!

Inktense Color Pencil test 1-27-08

inktense color pencil test

I just bought a complete set of “Inktense Color Pencils” from Derwendt. I did some tests with them to get familiar with what they do when dry or wet. The inktense pencils are water-soluble but when they dry are permanent. I found the colors to be vibrant + fantastic!

First I lay down a very pale wash about an inch long and 1/4 inch wide. (the wash I did was a ‘dry wash’, this is a term that means a light layer or drawing with a light touch to add a light layer.) Then I added, with a progressively heavier touch, more to the strip going left. You can see it’s darker on the top left of each color swatch and lighter on the right. Then I used a ‘waterbrush’, that is a brush that holds it’s own supply of water for field work, to pull down color from the top. As I got to the darkest area, on every single color I was amazed at just how brilliant and beautiful each color was! Even the browns, neutrals and mustard color were lovely!

I’m really not used to using water soluble color pencils but I will make an effort to use these till I get the hang of it. My intent is to use them in the field when hiking, to lay down washes that may be worked over with ink or color pencil.
Let me know if you have used the inktense pencils and what you thought of them.