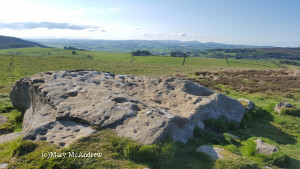
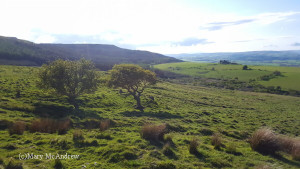
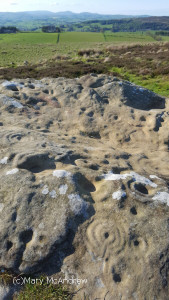
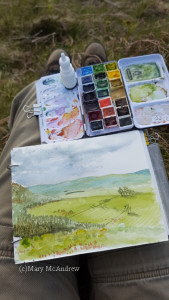
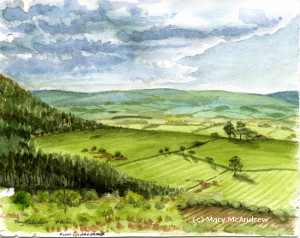
(This post is done AFTER returning home to NY…gosh I miss my Northumberland!)
Come along with me as I do a small oil painting in a very gorgeous location in the Coquetdale (River Coquet Valley) area of Northumberland, England. I think of all the areas I’ve traveled around in Northumberland, the Coquetdale is one of the most beautiful and always catches me by surprise when we drive along it’s long winding path through the valley. It has quite a few meanders before reaching the North Sea which makes it that much more picturesque to an artist, it’s curves reflected in the sun as a shimmering snake in a green velvet valley.
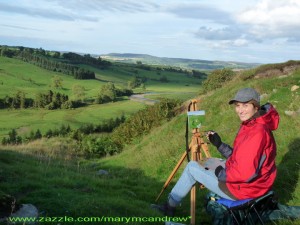
Painting while looking over the River Coquet
There I am! We hiked up this great high hill and entered the Bronze Age Celtic ring fort at the top. It’s surrounded by a deep ditch, as was the practice for all ring forts, though I guess a few thousand years ago it would have been deeper and very impressive. After exploring the fort and ditch I settled down inside a ditch with my back to the VERY brisk wind! While I painted I had my hood up to keep the wind off and you notice I’m wearing fingerless gloves, a must for outdoor painting!
For my set up, my favorite wooden field easel and a backpack with attached stool. This is a popular one found in many art supply catalogs but I altered it (as usual!), I took the backrest off by hammering on it until it came away. With the backrest off, I can now sit on it in any direction I like, sometimes the bars of the seat hurt the back of my legs and I feel less attachments equals less weight. I’m put a camping inflatable pillow on the seat, makes it a bit better. All in all, I don’t usually sit when painting outdoors, I find it tiresome to my back; usually I stand up and feel freer with my painting and you can move around to keep warm.
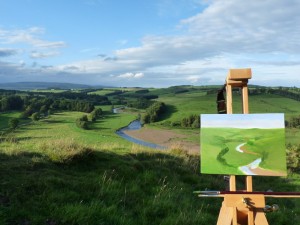
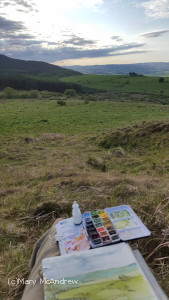
My View Over Coquetdale
Here’s a view of what I saw, you may wonder how my masonite board is staying up so magically on the easel? The wonders of Blue Sticky Tack never cease!! I use it all the time, I have some little dots of it on the easel to hold small boards like this, just where I want them. With a small board, I don’t like the wood of the easel’s clamp to get in the way.
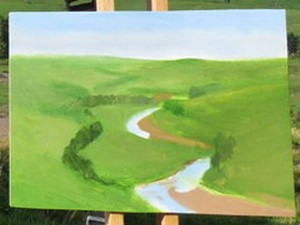
stage 1-View Over Coquetdale
When in the field I usually don’t pencil sketch the scene on the canvas, but use either Burnt Umber thinned with mineral spirits, or pick a color in the landscape and sketch directly with the brush. Just pay attention as you divide up your canvas with the horizon line placement and other important elements. If you get it wrong in the beginning, it’ll always be wrong! I go for blocking in big shapes in the ‘nearest’ color to it’s overall color.
When I started this one I blocked in some really bright green, later I decided I should have tried to match the color better to begin with. I just wanted to get it going, so I painted into the wet oil to adjust the color. You’ll notice my river color is quite light, just laying it in to mark it, I’ll adjust the color later. I wanted to have a wet base to paint into. I painted the sky with an all over tone of blue with the gradation of dark to light, later I’ll add the clouds. I also started to establish where the dark areas are, the tree lines.
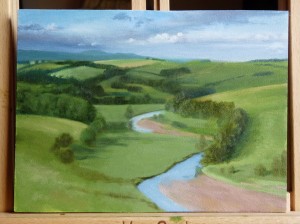
Stage 2- View Over Coquetdale
Now I’m set up back at home and continue working from my laptop where I have photos of the scene. I’m sorry I missed a few stages with the photos as I got involved with the painting! I studied where the background mountains should go and toned down blueish green for them. I continued to study where the tree lines were and payed close attention to the light and dark areas of the hills and tree clumps. Don’t put too much detail in the distant trees, just let them describe the curve of the hills as their lines criss cross and disappear. I also started to tuck darks under the tree lines and to the shadow side of them. You begin to notice the tree line on the left front is different than the ones on the right. They are different types of trees so the form and colors are different.
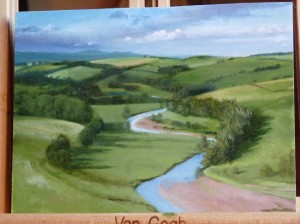
Stage 3- View Over Coquetdale
Picking out a little more detail of the hills in the mid-ground, I add some lights to define the hills and more detail to the tree lines. I lightly defined the little dirt road in the front left and a ‘hint’ of a fence, but kept it soft and also added more light to the left field. I put a small path that crossed the field in the middle but then later decided it was just too much of a distraction and took it out. I also added some lights to the trees on the right, you can see they are more pointy than the other trees as they are pines.
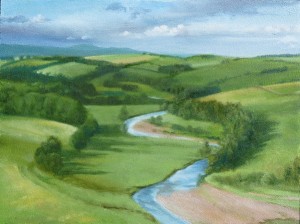
Stage 4- View Over Coquetdale
Above you can see I’ve added some darker (but still bright) blues to the river, taking care which direction I stroked it on. I added some yellow to the fields on the left to warm it up and cut down on the lightness. I added more bushes and detail to the front right side by the bank.
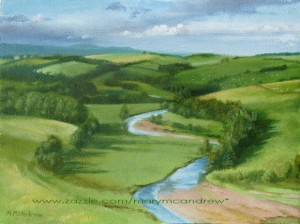
Completed "View over Coquetdale" 6x8" oil
The completed painting,6 x 8″ in oil, click it to view it larger in my Gallery of Landscapes. Here you can see I’ve added just a little more detail on the bank and sheep (whitish dots!) on the hills. One thing you notice when driving about the countryside of England are sheep just about everywhere! No hill would be complete without some of these white dots. Of course I didn’t just make blobs but made sure they had a bit of a long shape and slightly darker underneath, it’s just to ‘hint’ at a sheep, not to paint one in full detail at such a distance.
To view prints, note cards and more with this painting, click the links below to see them in my shop! (You can personalize any of them with your own text.)
