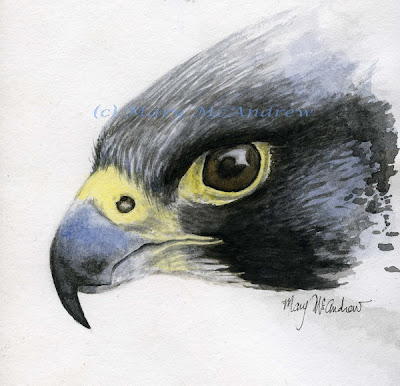
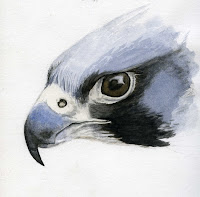
 This is a watercolor study I did to as a demonstration for my fall Nature Sketching and Painting Indoor class that just finished up. I used it to show the stages it took to make a simple study, step by step, layering washes, values etc. Posted below are the steps it took to make this 5″x5″ study head, be sure to click on pictures to see larger views! Enjoy!
Detailed sketch – Shown below, first I started with a light gesture sketch of the shape of the bird, then rechecked placements of things and refined details.
 Darkest Darks-This is one approach to watercolors, start by laying in your darkest darks and blacks. If you start with a confident sketch it should work out fine, when you work this way you set out from the beginning with a defined dark end of the value range. You can then judge all other values against it as you paint. You won’t have to go back and keep “pushing” your darks to make them pop.
I also painted the eye, being carful not to touch the highlight area, black for the pupil, and brown put into the wet black for the iris. (I think I put my reading glasses on for this step! haha).

Below I started to lay in more darks of the cheek, as my brush was drying out I would ‘sketch’ areas I wasn’t sure about…just to start to lay in some value so I could see where I wanted to paint.
 Color Wash-Here I laid in a bluish grey, ultramarine and black thinned with water. After it dried I laid in some small lines for feathers.
 Changeing the drawing– A pale yellow ochre wash on skin of eye area and nares. A wash over the eye highlight to tone it down and soften it. Here I also made a decision about the beak, now that I was putting values down, I thought the beak looked a bit too heavy. So before committing to paint, I erased! I reworked the curve then I painted keeping all areas soft and blended slightly.
 Feather details-I brushed on more feather details here, laid in more darks with repeated ‘feather’ strokes to top of head and all around eye. Nice spotty look at right edge, I like when the watercolor can been seen for what it is, it gives it a looseness. See the photo below for this step, just repeated tiny strokes.
 Yellow of beak and eye-Here I laid in the yellow on the nares and eye area, and it’s completed! See it on my Art Gallery Blog soon with prices for note cards and prints!