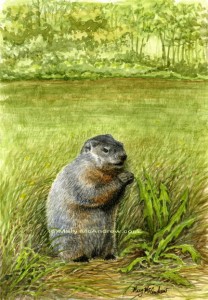
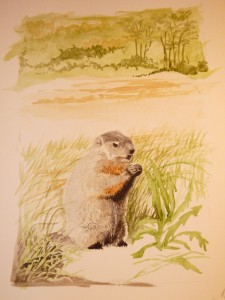
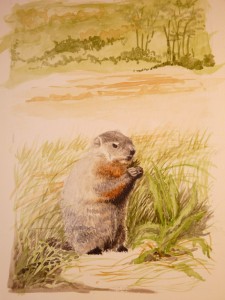
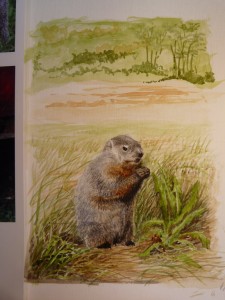
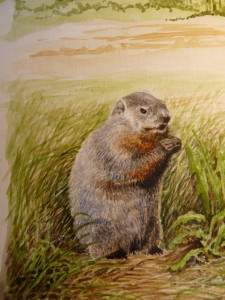
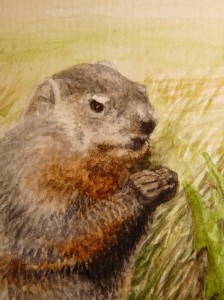
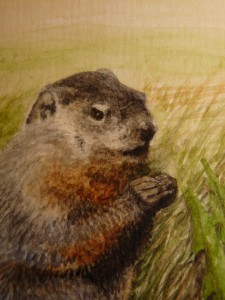
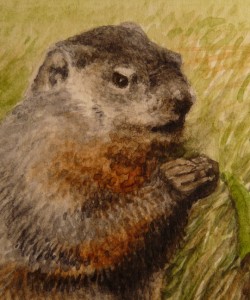
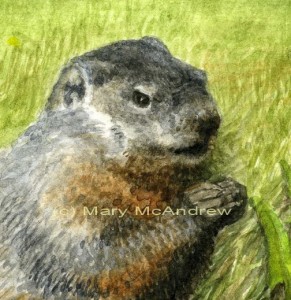
This watercolor was commissioned by a lady for her husband’s 80th birthday! He loves groundhogs (just like me) and she really liked the groundhogs I had sketched on my blog this past summer, so she asked me to do a painting. Here’s the finished painting and below it I’ll share the stages of painting as I worked on it, along with how I changed or corrected areas as I went.
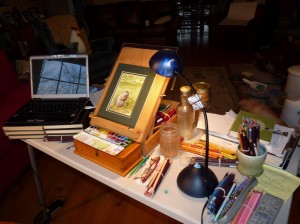
Above is my set up, an artists’ table easel box type thing that you can put oils paints in underneath, I have it filled with color pencils at the moment. I like it because you can change the angle to work on, I altered it though by drilling holes right up the front panel so I can change the height of the little shelf that you put your painting on while you work. (Yes, I love using my power drill!)
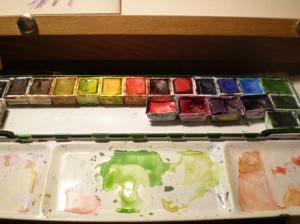
When I work on little watercolors, I like to keep my palette of colors close to the work. The paint dries out quickly in the tiny brushes so it helps to have it all close by. I set my pan of colors on a little wooden box and I can keep other supplies in here instead of all over my table. This pan is also what I use in the field, I have so many colors in it, I really don’t need to set up my big huge palette that I use in my studio for big paintings. When I worked on the painting, I had several pictures of groundhogs to the left of it for my reference, I used sticky tack (blue tack) to hold things in place on the Plexiglas surface.
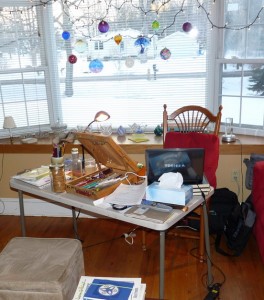
I really created this set up because I wanted to work where the wood stove was, right in the middle of my living room. You can see the cold snow outside my window! So it’s like my little studio island, a plastic table 4′ x 2′, complete with laptop, small lamp, bundles of color pencils and some other piles of ‘stuff’. (ahmm…there’s a dark chocolate bar hidden in the box too, well you know, gotta keep the ‘ol strength up!)
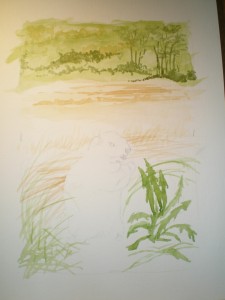
This is the first stage of the painting, a light pencil sketch that I lighten first by tapping over it with a kneaded rubber eraser. Before I started I decided to make this a 5 x 7″ painting to fit a standard mat, so I lightly trace the inside of an 8 x 10 mat (5 x 7″ opening). Then I wash in a simple background of trees and start to place the long grasses and dandelions I want around this plump little groundhog.
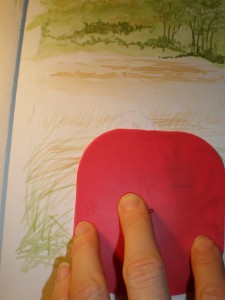
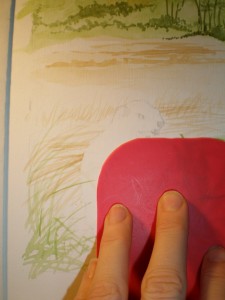
I like to try to keep some spontaneity in my paintings especially in the backgrounds. Here’s a little trick you can try to keep it loose while protecting areas; I grab a piece of paper or plastic to block or protect an area. This piece was just the right curve for his back, when it’s covered I can very freely stroke my brush right over the area with out it looking contrived and stiff.
You can see above the protected area of his back.
In “groundhog 4” I have laid in some light body washes and beginning some fur areas, starting on the darker areas first. Notice I have left a light ‘cut out’ looking edge to him, this is so I can go back later and stroke color into it to make it look like fur, but also he’ll stand out a bit from the background. I also started to push the darks around the grass blades in the front left.
In “groundhog 5” you can see I darkened around the dandelions, added some grasses in front and also added some more tone and fur strokes on his body. Keep looking for the dark and light areas of his body; sometimes you show this by adding strokes or by adding whole washes to an area. If you look at his tail here I want to point out that I didn’t just paint in a tail shape, I put dark bits around where the grass went over it and it looks much more natural.
In “groundhog 6” you can see I have put a light wash of green in the background, then washes of brown in the foreground. I then added more grasses and darks around the dandelions, foreground and his body. I developed the arm and shoulder area more now, also added more to the head.
I developed the grasses around him in “groundhog 7”, pushing the darks in places.
Now I’ll show you some close up pictures of parts of the painting as I did corrections. I find it interesting to look back on how I changed things and I know my readers really like to see this, you can learn a lot by looking at how another painter reworks things to correct them.
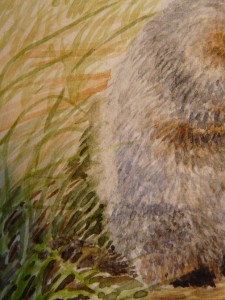
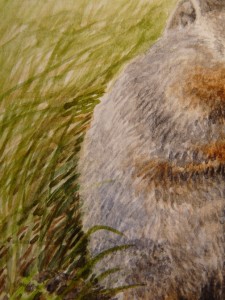
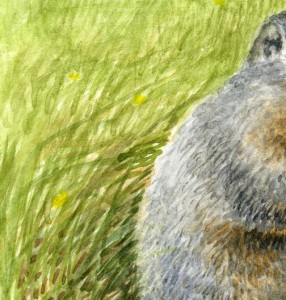
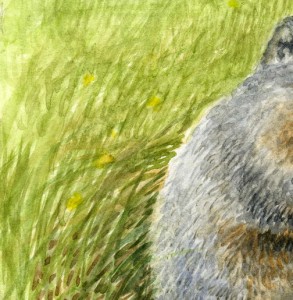
When I painted more of the grasses in I was able to see his back silhouette better; I then realized that it looked too straight. So I gently re-wet the area along the edge (above) and rubbed a bit with my brush to lift the color then I blotted it with a clean paper towel. I repeat this as many times as nessesary to lift what I need to, you can’t always lift everything though!! Take care also not to lift other areas.
To reshape the back I carefully put down the dark green grass colors further out from the original back line. (above) Then you have to soften where needed so it all looks ‘right’ together.
Below I show a close up of an area that when I thought I had finished the painting, I looked back and decided to fix. That blade of grass pointing at his head looked ok in the beginning when it was lighter, but now was too strong.
Below is the area that I changed.
Here’s some close ups of the head as I changed it. The mouth I found difficult to do, it was a give and take between showing details and sort of softening them, but then that’s the essence of painting! Notice the careful biulding of darks on the head to shape it’s 3 Dimensional feel, the changing of the black area of the mouth and the developing of the dark area under the jaw.
I ended up going over the entire head at the end and added darks here and there…sculpting until it looked just right.
Once again here is the painting finished and ready for it’s new owner!
The original is sold but SHOP for gifts, note cards, prints, t-shirts etc with this image on it in my Zazzle shop! Go to www.zazzle.com/marymcandrew* This will take you to my shop where my artwork and designs are listed, go to the Small Mammals folder to find the groundhog designs or just type Groundhog into the search box. You can add your own text to customize gifts! If you want it on something you don’t see, just email me to ask!
