Though I’m working on illustrating a story with Teddy Bears at the moment, I just can’t leave behind my love of nature. I haven’t had much time for my usual nature studies but what I have been doing is testing out different papers to use for illustration. Arches, Fabriano, Canson…cold press, hot press, dual sided even!, they are all getting tried. I was surprised to find the ones I thought I’d love I hated and the cold press was feeling pretty nice. Cold press paper is rougher and can show nice textures when working with watercolors, but not as nice if you’re doing fine detail.
(please click the pictures to see larger)
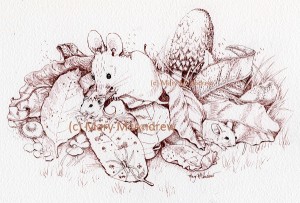
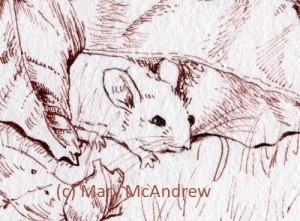
So I combined my experimenting with papers with wanting to draw some mice, my subject in many, many little children’s poems I’ve written. I want to keep a realism but cross the line into children’s illustration…make them a bit cute and giving them humanesque qualities.
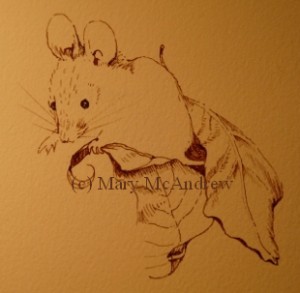
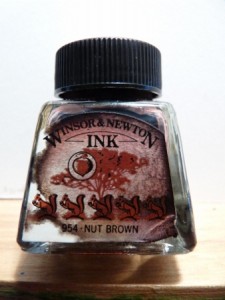
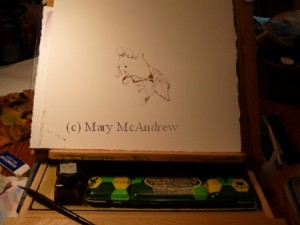
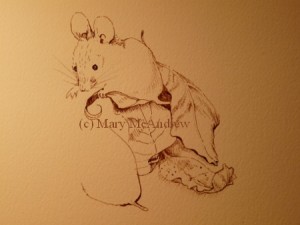
I started by drawing freehand in permanent ink (no pencil sketch) this mouse on Arches 140 lb cold press paper. I used Windsor Newton Nut Brown, a really nice brown ink. (Forgive the yellow picture quality, I snapped this with my camera at night-time so I could record the stages of drawing.)
Then I went outside and grabbed up a bunch of leaves to add around it, and drew some of them.
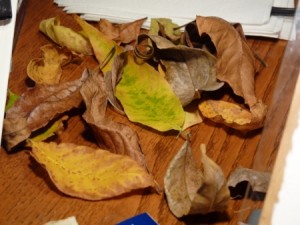
What started all this was a cute sketch in ink of the mouse (mother) but she had to have some leaves to be tucked into. I brought in a good variety from the yard, they looked more colorful than this in the beginning. They all curled and dried but that’s ok, I like keeping some dried leaves around in a small box, for sketching.
This is my set up, a small table easel that has a little drawer you can slide out. I like to put my watercolors there and anything else I might be using to draw. You can see my bottle of ink and my small ‘dip nib pen’ laying there. I have my paper on a piece of plexiglas. This is great to use when you are tracing a sketch onto ‘good’ paper, just go over your sketch with dark ink, put good paper on top, stick a lamp behind and sketch lightly with pencil. I didn’t do that with this drawing, as I said, I just started in and the drawing grew.
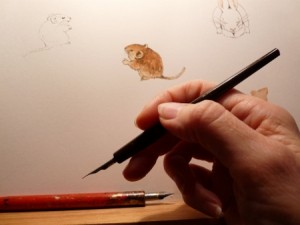
Here’s a picture of my “dip nib pen”.
You can see my two favorite pens here, when I want to use loose dip ink that is. I just love the detail I can get with this little nib! There’s something nice about using loose ink. I decided I liked when it ran out of ink regularly, it gave me a pause to check my drawing and think before making marks!
As I drew the mouse I started to think maybe it could become a story, so I felt I needed to leave the area in front of it open to possibilities. *Very important when working with permanent ink to take your time and plan a bit!
I was going to put a grasshopper in because they are everywhere in the grass right now, but I decided on a baby mouse. At this point I started sketching with pencil…the rest of the leaves, mushrooms and babies, because now it had become an actual illustration to NOT mess up! haha. You can see I changed the mouses face, added an open mouth, eyes a bit bigger with lashes, just a touch! I’m looking for my ‘mousy style’.
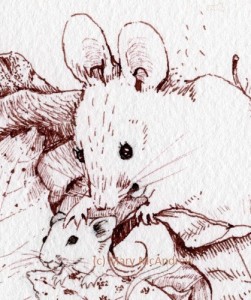
And you know with mice…where there’s one there’s many!…so I added this baby on the right. It’s good for the composition because it leads your eye around the page. Keep this in mind too when arranging your leaves, all the curves, waves and curls can really be exciting to draw and look at as they lead your eye around the composition.
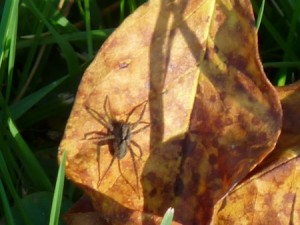
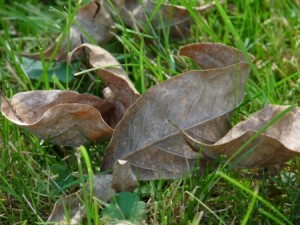
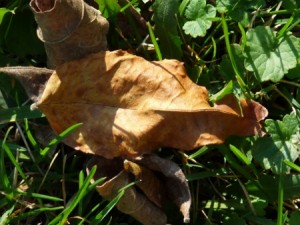
Below are a few photos of what inspired me to keep adding to my drawing.
I’m fascinated by the Nursery Web Spiders in my yard. In spring I see them living half under water and half above, then all summer they have their webs in the tall grasses on the lanes. Now as I walk through my yard in fall I see tiny baby spiders darting across the leaves everywhere! I couldn’t wait to sneak them into an illustration!
Well these leaves aren’t colorful but I love the curve of the big one, and the other small one fit in nice. You can see them on the right side of my drawing. I used this photo on my computer screen when I drew these leaves.
This is another one I added on the right side by the baby mouse. I tried not to go too heavy adding the shadows, since the leaves were all photographed at different angles in the sun. I also looked at this on my tiny computer screen while drawing, late into the night!
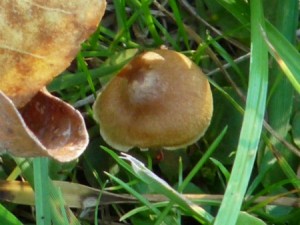
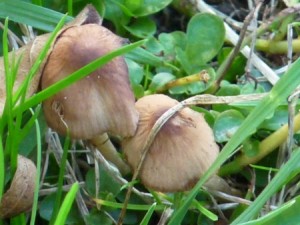
One day when I was walking through the yard I spotted an area of mushrooms, each were about 2″ across at least. They blended in so well I almost didn’t notice them at first, but looking for “things in the grass” for my drawing they were a nice find. It wasn’t until the next day I went out to photograph them and they were all gone! I searched and searched and finally started noticing these tiny mushrooms around under blades of grass. NO, my lawn is NOT neatly mowed, I’m lucky when my son comes and gives it a cut, so I get all kinds of things growing and hiding in the long grass!
I love looking at mushrooms, though I admit I don’t know too many species names. If anyone can tell me what these are I’d be grateful (Western NY-wet area)
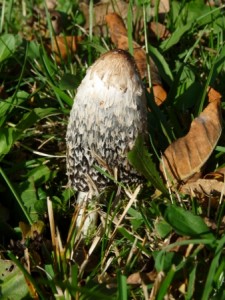
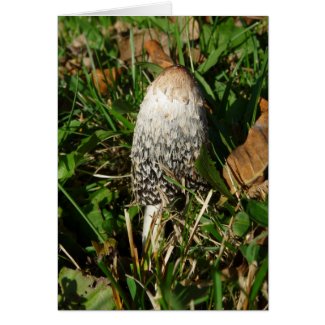
This one was the best find! It’s a Shaggy Ink Cap mushroom and I’ve never seen one here before, I’ve only ever seen them when I was in Ireland and England. One day I spotted a big one growing in the yard, I wasn’t able to get out to photograph it until the next day. To my great disappointment it had all but disappeared! I never saw one ‘roll up’ as fast as that! For those who have never seen this, the mushroom will start to roll up from the bottom, disappearing until just the top is left, surrounded by a black inky goo. It’s really quiet interesting and yuchy at the same time!
But lucky me, walking my laps around the yard the next day I spotted this small one growing not far from the other spot. So I grabbed my camera right away and got some good shots. I couldn’t wait to use it in my drawing and already knew it would be perfect as a backdrop.
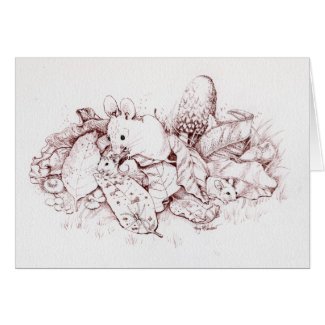
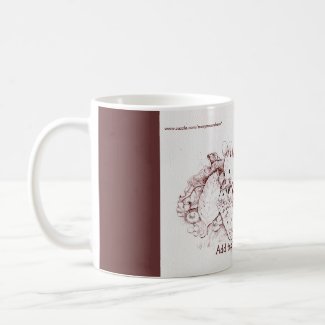
So there you have it, all the parts together! Now that I’ve scanned it, I can play around with watercolors on it and we’ll see how that goes! Please visit my shop to see the Note Cards and Gifts I made using this and other photos in this post. I’ll add a few picture links you can click to visit it, please please share my shop links with friends once you get there! 🙂

Fascinating process and delightful drawings. Thanks for sharing. I have discovered you via Nature Artists facebook
Mary,
Thank you so much for sharing your knowledge! It’s so helpful to me as a beginning artist.
I especially love the mushrooms. 😉
My 16 year old daughter is away at an environmental school right now. She has a spot in the woods she is supposed to study and this week she identified 25 different mushrooms! She was pretty excited about that.
I took a good picture of some. It’s on my other computer. When I get home ill have to share it with you.
Kelly
Hi Alissa! I’m glad you found the note in Nature Artists and came here to read my post, welcome! I’m trying to post my latest illustrations and paintings as I have time.
Hi Kelly! Thanks so much for stopping and leaving a comment. The best thing you can do when wanting to learn more is study artwork of others that attracts you. Learn what it is about that style that attracts you and emulate it. Play around with lots of mediums to see what you like too.
That sounds great what your daughter is doing, sounds just like her mom! I wish I could take a course locally about our mushrooms. Is she required to sketch them at all? I’d love to see the mushroom pics. Thanks for stopping in!
truly delightful 🙂
Thank you for stopping by and commenting Geri!
Mary….another hit!! I love the little mice! Almost enough to make me want to like these little buggers!!!! LOL!! The mushrooms are a given, they are fabulous!!!! As ALWAYS, I LOVE looking at your beautiful work!! Thanks for the inspiration! 🙂
thanks so much Felicia! I know the mice can be a problem in ‘real’ life, when they get into your house. This is the season too, Fall’s chill seems to bring ’em in! They are beautiful and cute though still. Thanks for your nice comments, hope you keep coming back! 🙂