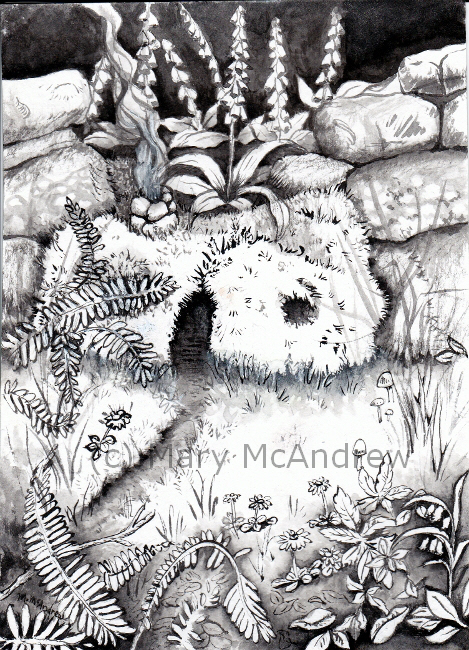
Hawthorn and Mossy Wall

Another adventure into the snowy, cold back garden! I sketched this scene on January 17, 2023 then worked on the painting in February. I seem to be drawn to this Hawthorn tree and wall, it’s the same one I sketched…
A Love of Nature, Place and Story
Another adventure into the snowy, cold back garden! I sketched this scene on January 17, 2023 then worked on the painting in February. I seem to be drawn to this Hawthorn tree and wall, it’s the same one I sketched…
Hello everyone! As I said in my previous post about the toad in ink, I wanted to try and do some ink drawings in the month of October for what’s called “Inktober”. It’s a challenge that artists do to try…