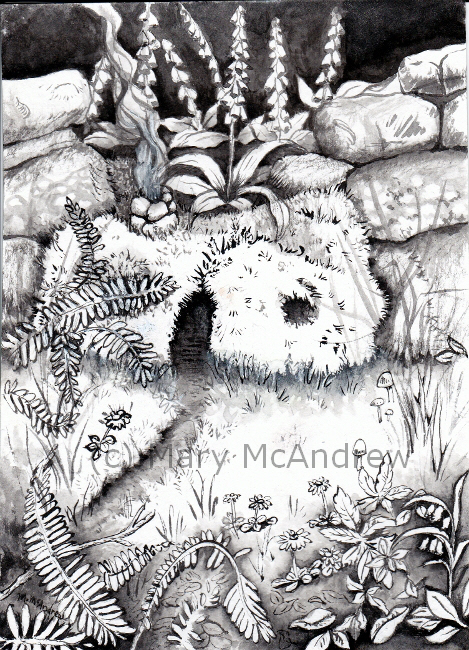

“Blackberry Picking Mouse”
My latest little illustration called "Blackberry Picking Mouse". It's done mostly in watercolors with only a tiny touch of gouache and it measures 6" x 6". It's not for any book in particular, I just enjoy making up little scenes using mice, bunnies etc., especially when they are in nature.