(Click photos to see enlarged view)
This post has a lot of photos showing as many stages of painting as I could. I’m taking the pictures using my cell phone, sorry they are not perfect! I’m using a photo I took a few years ago in Northumberland, on a walk with Gary at Beanly Moor. Some of the most beautiful old Beech trees are there, the tall stately ‘ladies of the wood’ these trees can be known as. Many times we find a long row of very mature trees and know that once they were part of a farmers hedge and left to grow because they were forgotten and went wild. I love that.
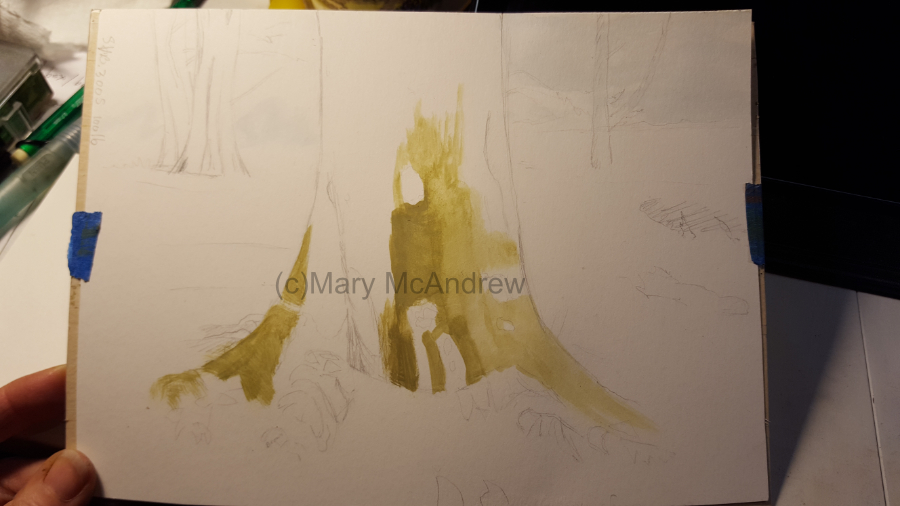
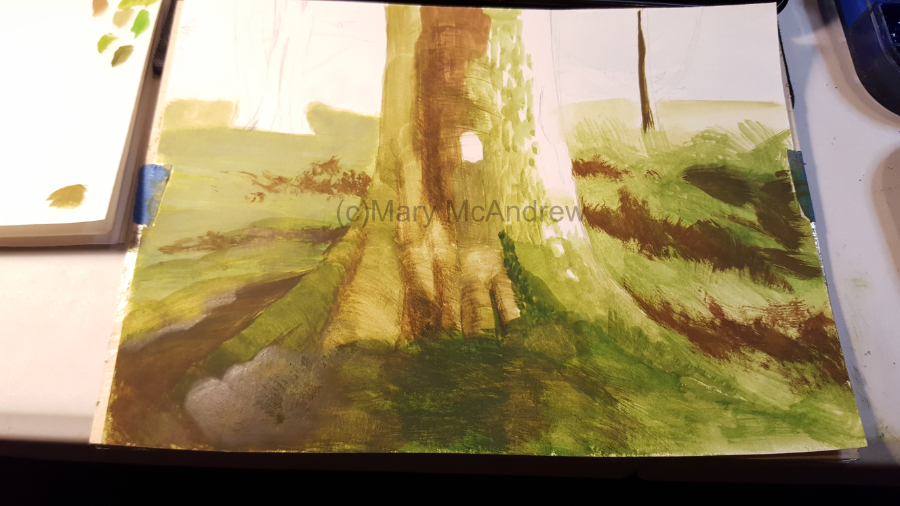
Above, first I did a light pencil drawing but didn’t add too many details. Then I started to add some color that I see on the tree, I’m using gouache paint.
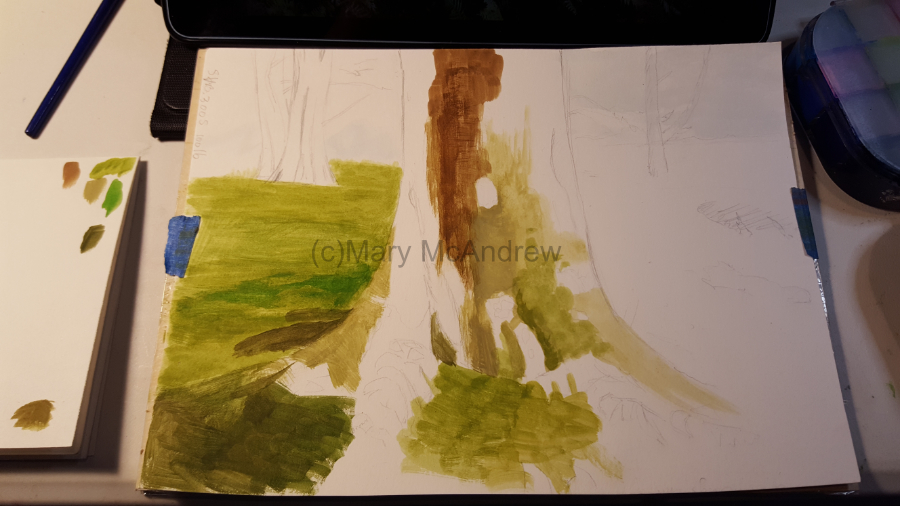
Here I start to put the greens of the ground down and a bit of burnt sienna mixed with burnt umber on the tree. I used a big filbert to brush the tree and used strokes that followed the rounded contour of the trunk. This left ‘streaks’ in the paint that I liked and I used the same brush later to add more tree color. The strokes it made I left and they really look great even at the end with other textures layered on top.
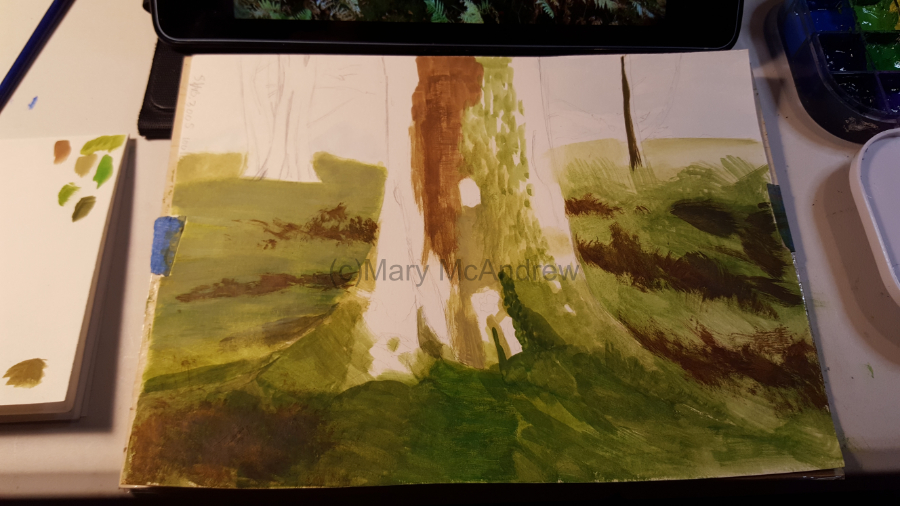
Here I did quite a few things, I toned down the green in the background on the left by putting a more opaque light green on top. I scumbled in more of the foreground greens and values then I added the dark browns you see using the big filbert brush. These are important dark areas because I’ll be putting light grasses and bracken on top and this will make them look more three dimensional.
I also made some brush strokes on the tree for the lichens and moss that I rather liked the texture of. When you see lichens on trees like this, it almost looks like fur. So as I continue I try to keep that texture on the tree.
I used a very light wash of color brushed on the left side of the tree, I’m trying to get rid of areas that are not as light in value as the right side of the tree and the background. I used the big filbert brush again to stroke with the round trunk.
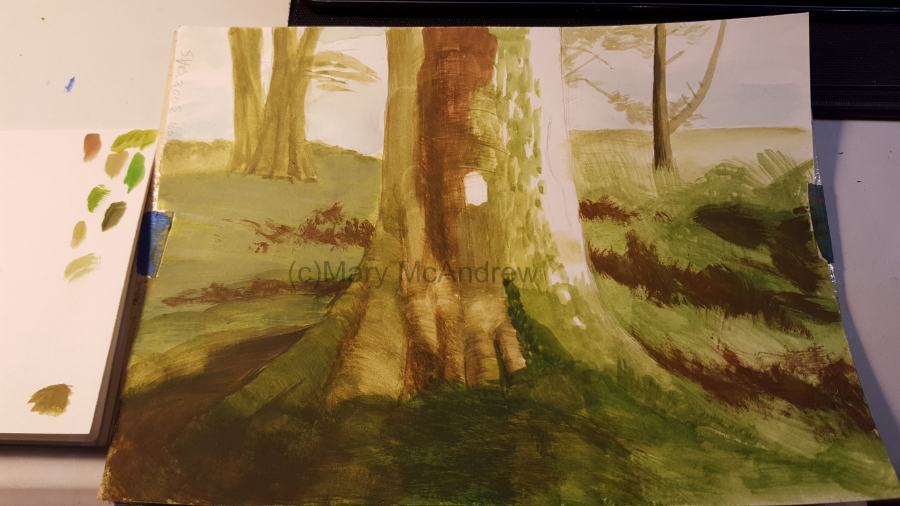
The background trees get brushed in. Whoever said trees have brown trunks? Most tree trunks I see are green and grey in color!
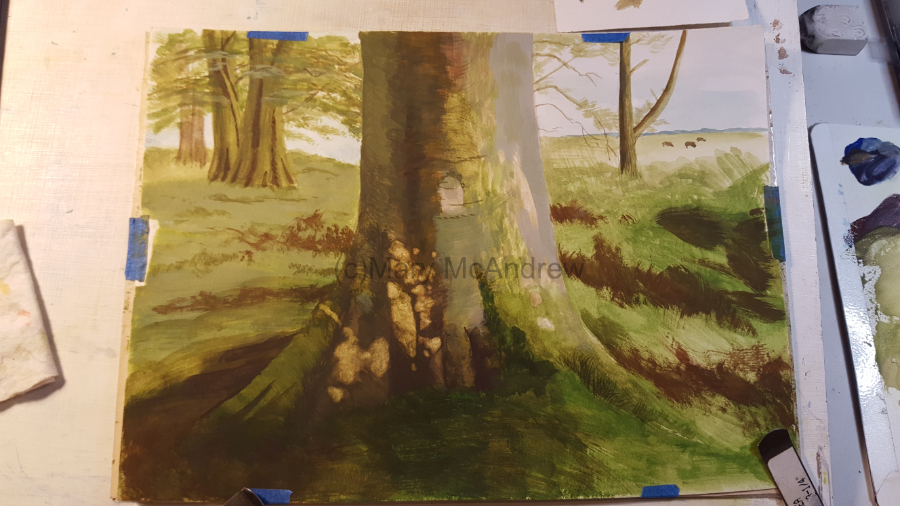
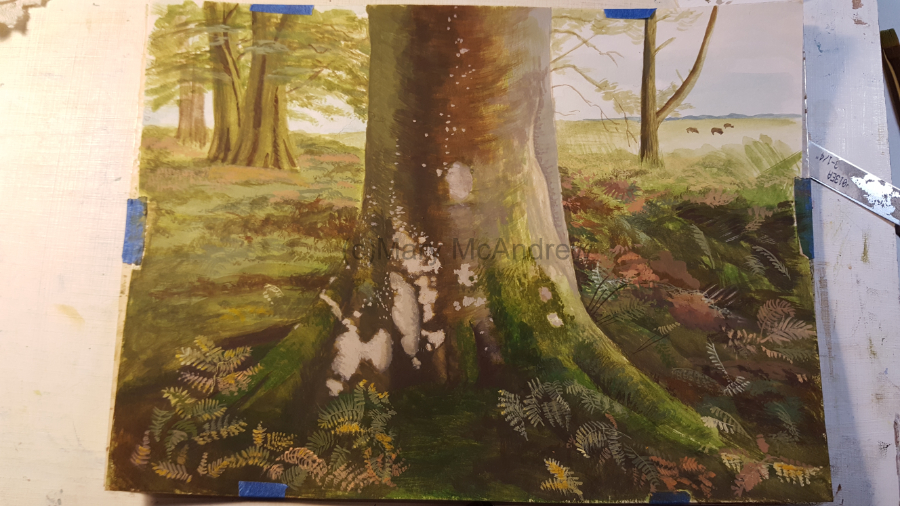
Here you can see I’ve added grey on the right side of the tree. Then because gouache paint can be lifted quite a bit if you wet it, I was able to carefully lift the dark color off where I plan to put light patches of paint. I could probably have painted right on top of the dark, but this way I figured it had less chance of mixing and getting muddy. It was a good way to ‘sketch’ out exactly where I wanted to put the light patches.
I’ve also added more opaque color to the tree on the left which is giving it so much more ‘solidness’. And I added leaves/branches to the background trees and don’t forget the wee cows!
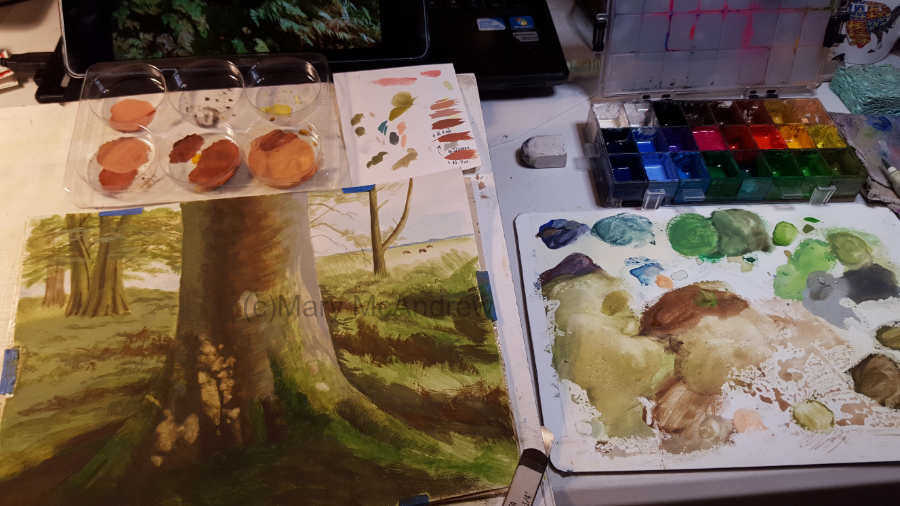
This is showing how I had it set up on my table, plastic palette on the right, gouache paints above that in a resealable palette. Just above my painting you see a clear plastic tray with round depressions, that was some packing material from battery tealights, it makes a great mixing area for paints! The colors in there were for painting the light bracken and finding the right color and value drove me crazy!
A lot has happened here, the light patches going onto the trunk and some very light speckles, bracken fronds all over, more texture on the ground in the back.
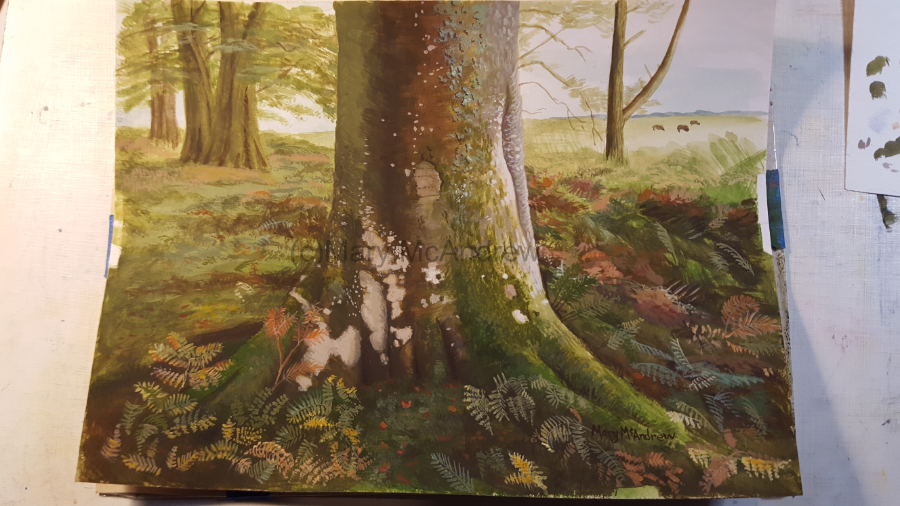
Here I worked on that grey area on the right side of the trunk, more texture and some sharpening of the dark edge to show the tree goes in there, like an old wound maybe?
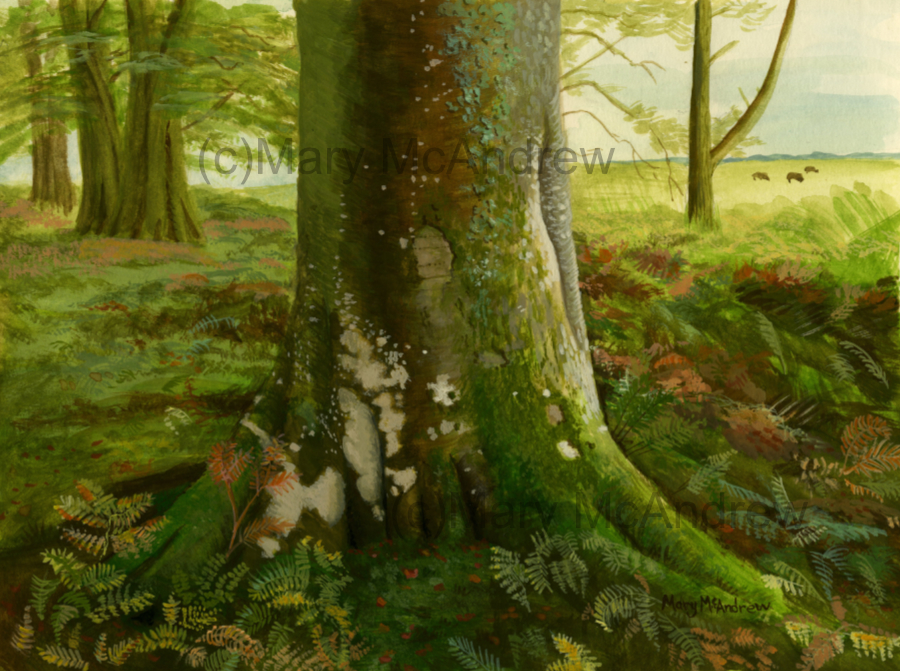
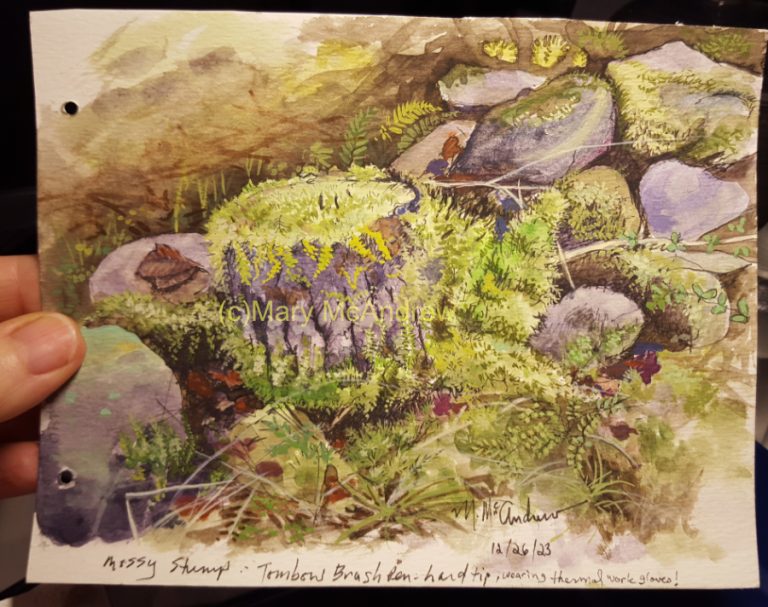
Now I know the color of this picture is hugely different from the pictures of the stages of painting, this is the scan of the painting. You can really see the vibrancy of the greens, whereas the other pictures are all taken with my cell phone under lamps and some with cool natural light.
Once I get set up with a printer again, I’ll definitely be making prints and note cards of this one; I love the colors and textures! I hope you liked seeing all the steps of painting as I worked, please leave me a comment if you like. Please share my website with your friends! You can also follow me on Instagram to see more updates on my projects, look for Mary_McAndrew_Artist.